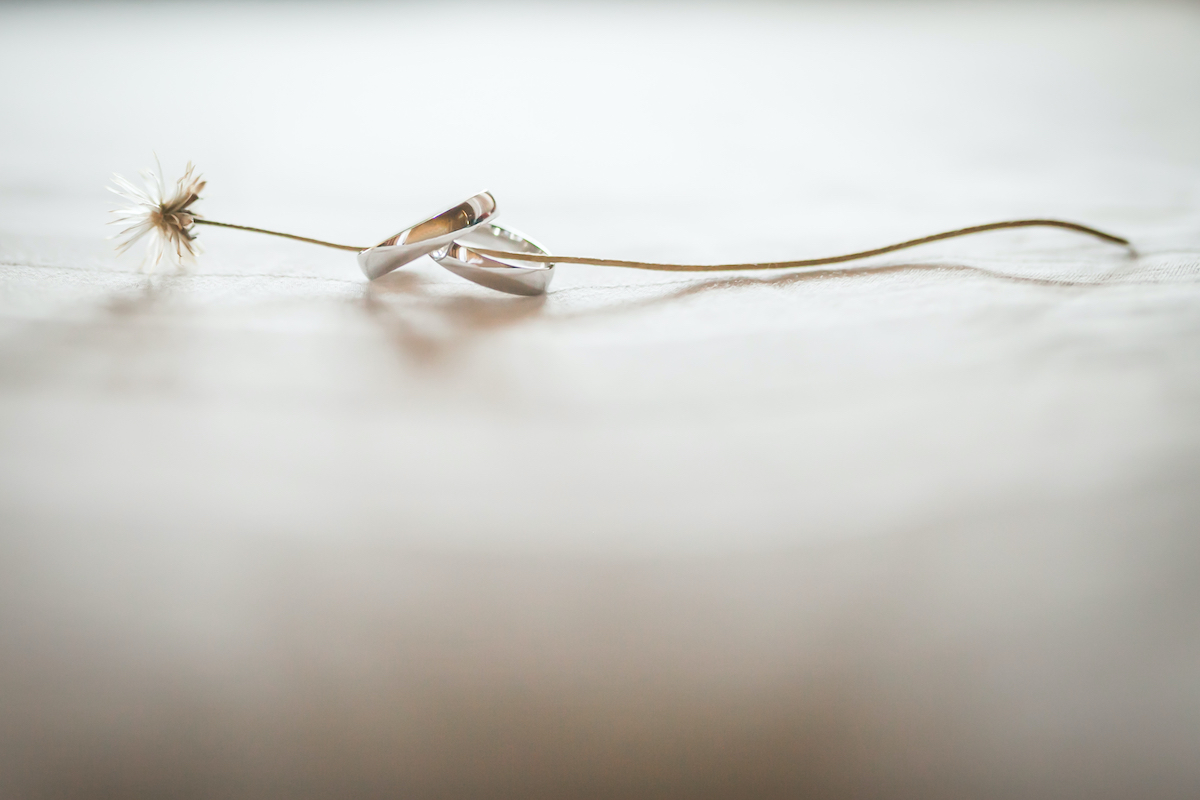
Photos are everything when it comes to eCommerce. Over 75% of consumers say that pictures are very influential in their decision in buying a product online, according to a study by Weebly. They can’t examine the products up close, so they rely on photos to judge an item’s quality. Nearly eight in ten consumers also expect an eCommerce site to have photos.
However, taking pictures of your jewelry products on your smartphone and uploading them onto your listings won’t be enough to satisfy your customers. Your photos will end up grainy, lacking in detail, and filled with reflections, even if you are using the latest phone model.
According to eBay’s recent study on the role of images in eCommerce, customers view a product photo’s quality as visual proof of the item’s actual caliber and condition. As such, they expect pictures to be clean, clear, and crisp. Poor-quality photos can cause customers to perceive your items as poor-quality as well.
The researchers concluded that images, especially high-quality ones, improve buyer attention and trust, as well as conversion rates. If you want to catch the attention of customers and have them take your jewelry products to checkout, you need to take better pictures of your items.
Here are factors to consider when taking pictures of your jewelry for eCommerce.
Camera
Even if you’re great at taking photos, if you use bad equipment, you’ll still end up with a poor shot. Save your iPhone for Instagram and get yourself a professional-grade digital single-lens reflex (DSLR) or mirrorless camera.
These will have bigger and higher-quality sensors that can pick up light and detail significantly better than phones can. They’re also more customizable, with interchangeable lenses and manual controls. These let you tailor your shot according to the amount of light you have and the effect you want to achieve.
If you have extra cash, get a macro lens as well. This type of lens is created specifically for capturing sharp and highly-detailed pictures of small subjects. A tripod is also needed to keep your camera in a steady and consistent position throughout your shoot.
Light
Studio lighting is ideal for taking jewelry photos. However, if you don’t have the budget and storage space for them, the sun is your best friend. Set up your makeshift studio near a window, where it can get the most sunlight. If the light is too harsh, try to diffuse it with sheets of wax paper or even thin shower curtains. You’ll end up with a nice, soft light that’s bright enough to bring out the best details of your product.

Backdrop
A common mistake in product photography is choosing busy backdrops like a desk with stuff on them or a table. This takes away your customers’ attention from the actual item you’re advertising. Even backdrops with solid colors are distracting, as they can alter the way your items’ colors look.
Your best bet for jewelry is a clean, white backdrop. It allows you to showcase the colors of your items. It also reflects light so your pictures look brighter as well. You don’t need a special backdrop material. A piece of folded up white paper or card will do.
Fine Details
If you use a high-performance camera and a lot of natural light, you’ll capture every detail—even the unsightly ones. Don’t ever handle your jewelry without gloves, even if they’re just for your photo shoots. Your hand’s oils will smudge your items, making them look unattractive to customers, especially to those who care about the fine details in their jewelry.
Clean and polish every product after every shoot. Use cotton gloves every time you handle the products. If your items still end up with imperfections or pesky reflections, get help from a jewelry retoucher. They have the software and know-how to make your images look flawless.
Settings
Cameras are so smart at figuring out the best exposure mode that program mode or “P-mode” will suffice. This option lets the camera determine the aperture and shutter speed for the best image possible. You only have to set the ISO, which should ideally be as low as possible to prevent noise. If your camera doesn’t have a P-mode or it doesn’t provide satisfactory images, try setting it in aperture mode.
Aperture determines how wide the lens opening will be when it captures the image. Making it really narrow, around F11 or F14 allows you to capture the fine details of your products. The camera automatically adjusts the shutter speed so your image absorbs enough light for the narrow aperture you set.
Creating the most detailed and clear image possible should be your primary goal when it comes to jewelry photography. Consider these factors when setting up a makeshift studio for your jewelry photo shoots. You’ll end up with images your customers will surely love.